What’s that? You thought reupholstery in and of itself was cheap? Wrong. It can be mind-blowingly expensive if you don’t approach it with some girl-on-a-budget savvy. Don’t get us wrong – it’s still an amazing way to take a throw-away and transform it into a gorgeous seemingly high end piece . You’ve just got to make sure your DIY enthusiasm doesn’t blind you to the hidden costs. Let’s get started!
1. Roll up your sleeves, and DIG.
Treasure huntin’ ain’t easy. If it feels easy, you’re probably not getting the best deal (read: those pretty, well-organized thrift stores are often the most expensive). If you have something specific in mind, google the heck out of it before you make your way to the thrift stores (so you know if you’re actually getting a deal). When you find an item (a chair, bench, stool, headboard, etc) with good bones & a great shape for a great bargain, you’ve got yourself a winner. FYI, older furniture tends to be of higher quality / more structurally sound so keep that in mind!
Where should you shop? I’ll tell you:
– Yard, Garage & Estate Sales (sites like YardSaleSearch and YardSaleTreasureMap can help you identify sales in your area).
– Goodwill, Salvation Army, and other thrift & vintage stores in your region (a quick google search should suffice on this one).
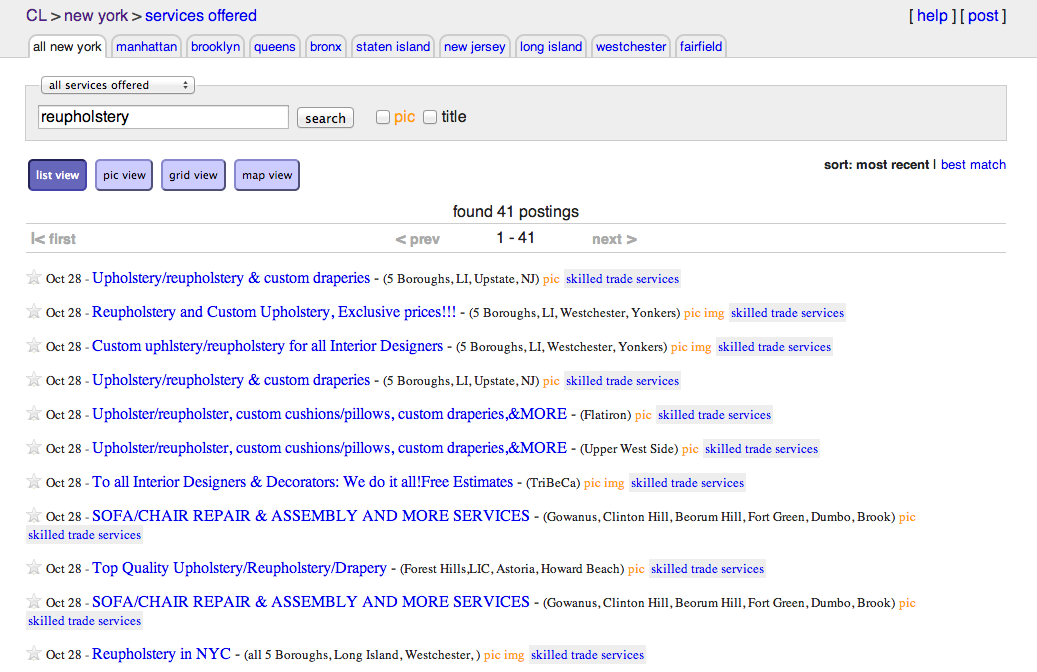
– CraigsList (our favorite– though some cities certainly have a more expansive “inventory” than others).
Though I adore Ebay & Etsy, I mostly avoid these sites when looking for a reupholstery project simply because of the associated cost to ship the item. You can always filter your searches on both sites by location— if you’re able to find a piece w/ local pick up, delivery or minimal shipping costs, you’ll be much happier with your final spend.
2. Compare the costs/benefits of DIY vs. Professional Reupholstery
First, if the item has sentimental value or was a family heirloom, please please do not try to DIY– use a professional reupholster. Seriously…chances are that something will go wrong & your attempt to DIY/ save some cash will end in major heartbreak. If you’re not that attached to the piece, read on. Was the item cheap enough that you wouldn’t be heartbroken if you totally messed it up? If your answer is no, stop reading this now– you need to use a professional reupholsterer! If the answer is yes, lucky you! You scored a deal & now you have some leeway. Still you must consider the following:
– the cost of materials that need replacing including foam (foam is strangely expensive), batting, nails, nail gun, adhesive, paint or stain if necessary, etc.
– the cost of your time spent on the project (these projects always take longer than expected– account for some delays!). If saving money is of more value to you currently than saving time, DIY might be for you.
– the intricacy of your piece meaning the difficulty of the job at hand (some pieces are much more straight forward than others…google a bit & try to find a tutorial for an item with a similar shape/details).
– your personality! It’s okay if you’re more easily rattled than DIY Goddess, Jenny Komenda! Figure out whether you’re the type of person who feels intense gratification at the completion of a difficult project or if you’re a little on the impatient side & tend to get discouraged when you hit unexpected road blocks.
The cost of fabric will more often than not be the same whether you DIY or lean on a professional. However, it doesn’t hurt to ask the reupholstery shop whether they’re able to get you a discount on fabric if you use their services.
3. If you decide to try professional reupholstery:
– Compare compare compare. To avoid overpaying, call 3-5 shops in your area and identify the average cost for a project like yours.
– Check on sites like Angie’s List and CraigsList for independent reupholsterers. There’s nothing better than Google– make use of it to find local contractors in your area.
– Always check Yelp for reviews and/or ask for references if no formal reviews are available.
– Request recommendations from your friends on Facebook. Search twitter for mention of cheap reupholstery (w/ rave reviews) in your area.
– Consider using a professional for the more intricate/involved work and taking on a portion of the simpler reupholstery yourself.
4. If you choose to DIY:

– Google & review an assortment of DIY reupholstery tutorials & save each post for later reference. Each upholstery job sort of takes on a life of its own– jobs are hardly ever exactly the same! In our experience, it’s been most helpful to draw from a number of tutorials and apply various instructions to various phases of the project.
– Be careful when choosing patterned fabric. Any thing that requires specific alignment on the piece or needs to be tacked onto the piece perfectly straight is going to be much more difficult to manage than a solid or a very tight, small, potentially more organic print.
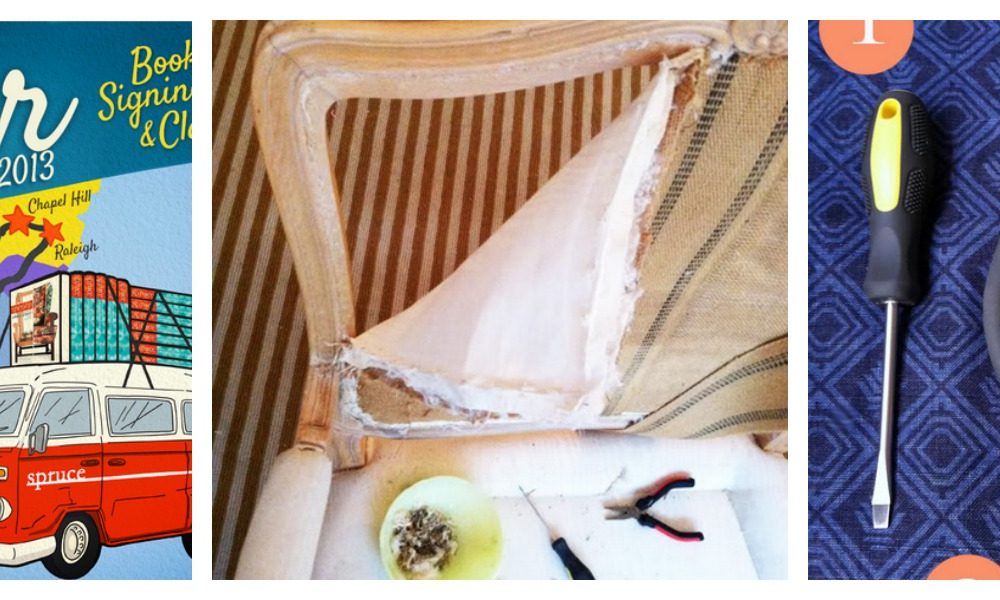
– Reuse as much of the “insides” as you can (padding, springs, nails even!). That stuff really adds up.
– Save the sections of fabric as your strip your piece. They serve as a good template (or at least frame of reference) for cutting and positioning your new fabric.
– Coupon clip! Jo Ann’s, Michael’s, and Hancock Fabrics, for example, offer substantial discounts pretty regularly (Jo Ann’s almost always has a 40% off coupon of some kind). Use these coupons where it counts the most… fabric and foam. Planning ahead and gathering these essentials as they become available on sale will help to keep your costs down.
– Have patience and be proud of yourself for tackling something that definitely isn’t easy for everyone!

(Images via Emily Henderson, Little Green Notebook, & Spruce)
One of the BEST reupholstery “tell all” guides ever by the ever-impressive Emily Henderson.
For a club chair, Tiffany’s post on Living Savvy is one of the best documented around (love the step by step pics).
Jenny Komenda, one of our all time favorite bloggers & DIY maven, gives it to your straight in her multi-part tutorial. If it’s covered in fabric, Jenny has DIY reupholstered it at some point or another. You’re safe in her hands!
The talented Amanda Brown of Spruce Upholstery just released a book on the topic! See her top 10 tips via Design Sponge & her new book available now via Amazon.